Author
Sahil Kumar
Publihsed On
Dec 16, 2025
Updated On
Dec 16, 2025
Category
CSS3
Tabbed Style Login Registration Form Design Using HTML5, CSS3 & jQuery
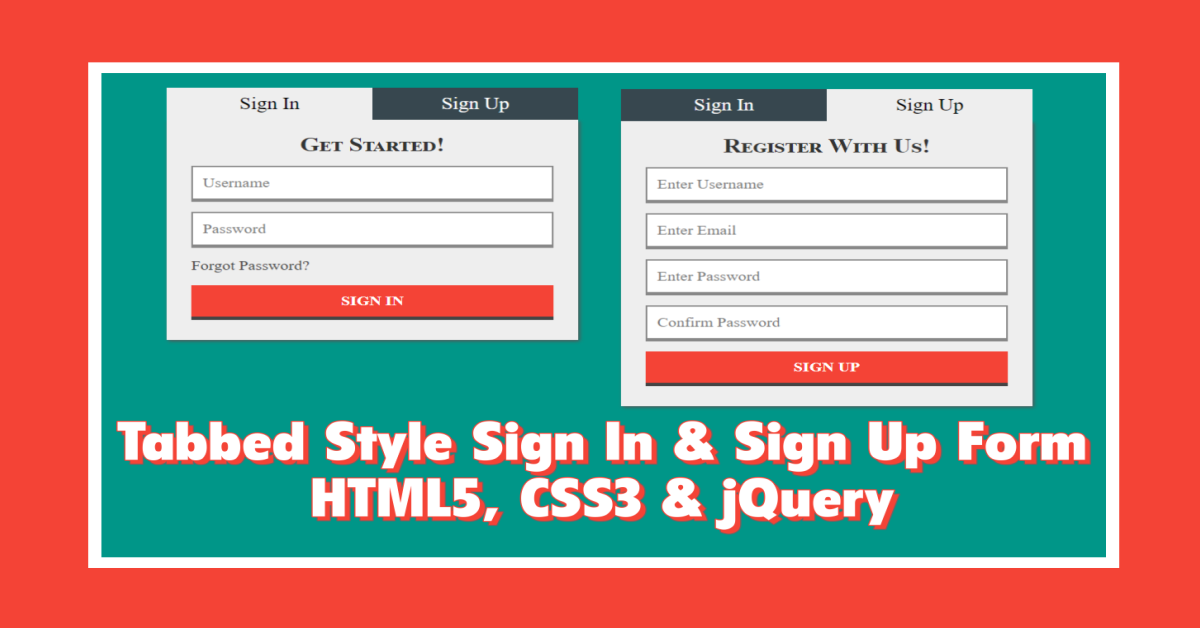
Hello Friends! I'm back with another very simple tutorial. In this post, I'm going to show you how to design a nice fully responsive Tabbed Style Login & Registration Form Using HTML5, CSS3 & jQuery. I'm using HTML5 for markup, CSS3 for styling and jQuery for making tab working.
So without wasting any time let's start this tutorial. Don't worry I'll share all the codes here and I'll also show you everything in steps. This tutorial is very easy you will understand very easily.
Creating a directory
In this step, we'll create a directory anywhere in your system. I'm creating in Desktop and naming the directory "tab-login-register", you can name it anything. After creating the directory open it in your code editor.
Creating an index.html file
Now next in this step We'll create an index.html file. In this file, we'll write markup of the login and registration form. So just copy the below codes and paste them into your index.html file and save them.
<!DOCTYPE html>
<html lang="en">
  <head>
    <meta charset="UTF-8" />
    <meta name="author" content="Sahil Kumar" />
    <meta http-equiv="X-UA-Compatible" content="IE=edge" />
    <meta name="viewport" content="width=device-width,initial-scale=1" />
    <title>Tabbed Style Login & Registration Form Using CSS3 & jQuery</title>
    <link href="https://fonts.googleapis.com/css?family=Cabin" rel="stylesheet" />
    <link rel="stylesheet" href="style.css" />
    <script src="https://cdnjs.cloudflare.com/ajax/libs/jquery/3.5.1/jquery.min.js"></script>
    <script type="text/javascript" src="script.js"></script>
  </head>
  <body>
    <div id="main">
      <!-- Tab Buttons -->
      <div id="tab-btn">
        <a href="#" class="login-tab active">Sign In</a>
        <a href="#" class="register-tab">Sign Up</a>
      </div>
      <!-- Login Form -->
      <div class="login-box">
        <h2>Get Started!</h2>
        <form action="#" method="post" id="login-form">
          <input type="text" name="username" placeholder="Username" class="inp" required autofocus /><br />
          <input type="password" name="password" placeholder="Password" class="inp" required /><br />
          <a href="#" id="forgot">Forgot Password?</a><br />
          <input type="submit" name="submit" value="SIGN IN" class="sub-btn" />
        </form>
      </div>
      <!-- Registration Form -->
      <div class="register-box">
        <h2>Register With Us!</h2>
        <form action="#" method="post" id="reg-form">
          <input type="text" name="uname" placeholder="Enter Username" class="inp" required autofocus /><br />
          <input type="email" name="email" placeholder="Enter Email" class="inp" required /><br />
          <input type="password" name="pass" placeholder="Enter Password" class="inp" required /><br />
          <input type="password" name="repass" placeholder="Confirm Password" class="inp" required /><br />
          <input type="submit" name="submit" value="SIGN UP" class="sub-btn" />
        </form>
      </div>
    </div>
  </body>
</html>
In the above coding, you can see I've included the CDN of the jQuery library and I've also linked style.css and script.js file. We'll create these files in the next step. For now, you can see in the coding I've written markups for the login and registration form
Creating a style.css file
In this step, we'll create another file in the root of the directory i.e., style.css. Now inside this file, We'll write CSS codes to style the forms and tabs. So just copy the below CSS codes and paste into your style.css file and save.
* {
  margin: 0;
  padding: 0;
  -webkit-box-sizing: border-box;
  -moz-box-sizing: border-box;
  box-sizing: border-box;
  font-family: "Cabin";
}
body {
  background-color: #009688;
  display: flex;
  min-height: 100vh;
  justify-content: center;
  align-items: center;
}
#main {
  max-width: 95%;
  width: 500px;
}
#tab-btn {
  display: flex;
}
.login-tab,
.register-tab {
  text-decoration: none;
  display: block;
  width: 100%;
  background-color: #37474f;
  text-align: center;
  color: #fff;
  font-size: 25px;
  padding: 10px;
}
.active {
  background-color: #eee;
  color: #000;
}
.login-box,
.register-box {
  width: 100%;
  background-color: #eee;
  padding: 20px 30px 30px 30px;
  box-shadow: 2px 2px 5px #555;
}
.register-box {
  display: none;
}
.inp {
  width: 100%;
  padding: 12px;
  margin-bottom: 15px;
  font-size: 20px;
  border: 2px solid #888;
  border-bottom: 5px solid #888;
  background-color: #fff;
  color: #666;
}
.inp:focus {
  outline: none;
  border: 2px solid #555;
  border-bottom: 5px solid #555;
}
.sub-btn {
  width: 100%;
  padding: 12px;
  border: none;
  font-size: 20px;
  font-weight: bold;
  background-color: #f44336;
  color: #fff;
  cursor: pointer;
  border-bottom: 5px solid #444;
}
.sub-btn:focus {
  outline: none;
}
.sub-btn:active {
  border: none;
  margin-top: 5px;
}
#forgot {
  font-size: 20px;
  color: #444;
  text-decoration: none;
  display: block;
}
h2 {
  text-align: center;
  padding-bottom: 15px;
  font-variant: small-caps;
  color: #333;
  font-size: 30px;
}
In the above CSS coding, you can see by default I've hidden the registration form using display: none; CSS property, later from jQuery code I'll make it visible.
Creating a script.js file
In this step, we'll create another file in the root of the directory i.e., script.js. Now inside this file, we'll write jQuery codes to make the tab working. First, just copy the below codes and paste into your script.js file and save them.
$(document).ready(function () {
  $(".register-tab").click(function () {
    $(".register-box").show();
    $(".login-box").hide();
    $(".register-tab").addClass("active");
    $(".login-tab").removeClass("active");
  });
  $(".login-tab").click(function () {
    $(".login-box").show();
    $(".register-box").hide();
    $(".login-tab").addClass("active");
    $(".register-tab").removeClass("active");
  });
});
In the above jQuery coding, you can see I've used a click event on the register tab button click. Now inside this function, I'm hiding the login form and displaying the registration form that was by default hidden using style.css. And I'm also assigning an active class to the register tab button and removing the active class from the login tab button. Similarly, I'm doing on the login tab click.
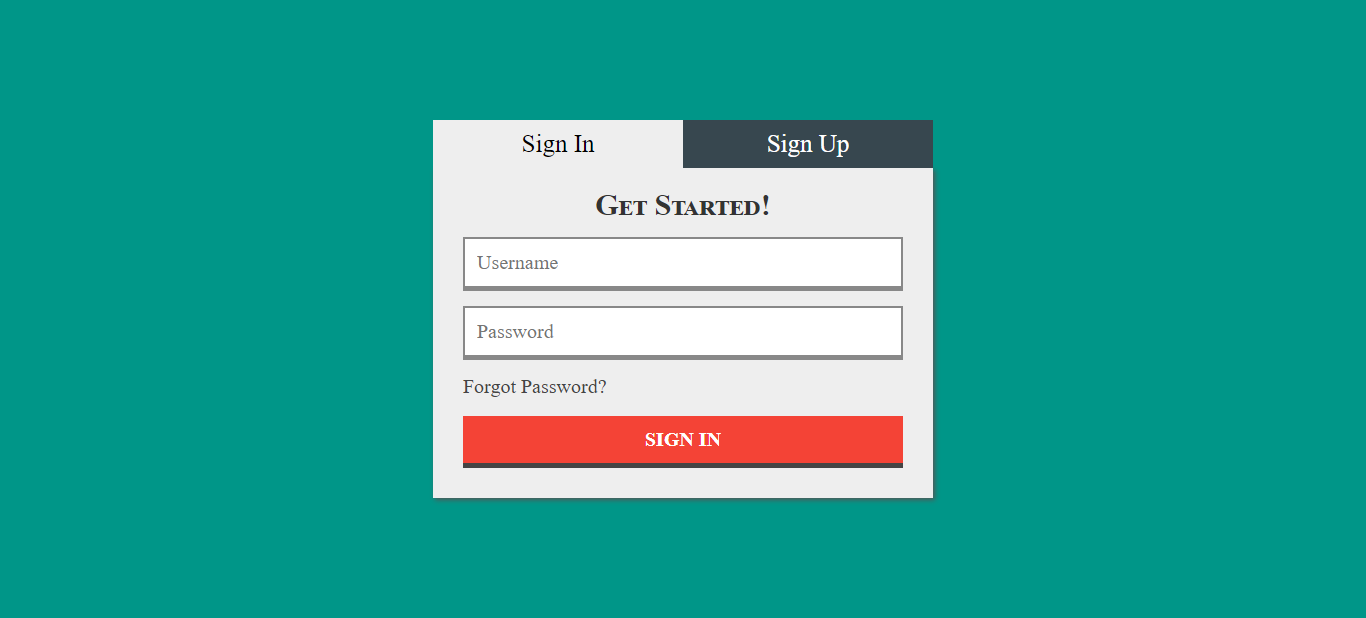
Some Screenshots of Tabbed Style Login & Registration Form Design Using HTML5, CSS3 & jQuery


So above you can see some screenshots of the forms. If you liked this post, then share this post with your friends. If you have any issues regarding this post then comment down your issues, I'll try to fix your issues as soon as possible. And if you want to learn more about Web Design & Development then you must visit my YouTube Channel.
Sahil Kumar
Full Stack Web Developer
Hello! I'm a part-time blogger & YouTuber living in India. This is my personal blog where I write Web Design & Development tutorial posts!
Know more about me
SUBMIT GUEST POST 🚀
Ready to contribute? Head to the article dashboard to publish your own insightful articles and share them with our audience!
Go to dashboardRECENT POSTS

How Digital Marketing Drives Growth in eCommerce Businesses
6 days ago

Building a Secure Authentication System with PHP OOP, PDO, MySQL, and Bootstrap 5
1 week ago

10 Essential Web Design Principles for Creating a User-Friendly Website
1 week ago

Send Mail with Contact Form Using PHPMailer & Gmail SMTP | 2023
1 week ago

Full Stack Laravel 10 & React JS | SPA Authentication | Part 2
1 week ago